
A successful CCTV camera installation all comes down to the planning. Get this wrong, and you’re left with an expensive decoration. Get it right, and you have a powerful security asset. It’s all about methodically finding your vulnerabilities before you even think about unboxing a camera.
Laying the Foundation for Effective Surveillance
The biggest mistake I see people make is rushing to get cameras up on the walls without a real strategy. That’s not security; that’s just ticking a box. Real, effective surveillance begins with a hard look at your property’s unique weak spots, your day-to-day operations, and what you’re actually trying to achieve.
You need to shift your thinking from a reactive tool to a proactive, preventative one. This isn’t just best practice; it’s becoming essential. The Australian CCTV market is booming—valued at around USD 1.16 billion and expected to hit USD 6.02 billion by 2033—because of growing safety concerns in major hubs like Sydney and Melbourne. You can find more data on the Australian security market growth online.
It all boils down to a simple process: survey the site, map out what you have, and define what you need. Following these steps helps you avoid costly mistakes and ensures the final system actually does the job you hired it for.
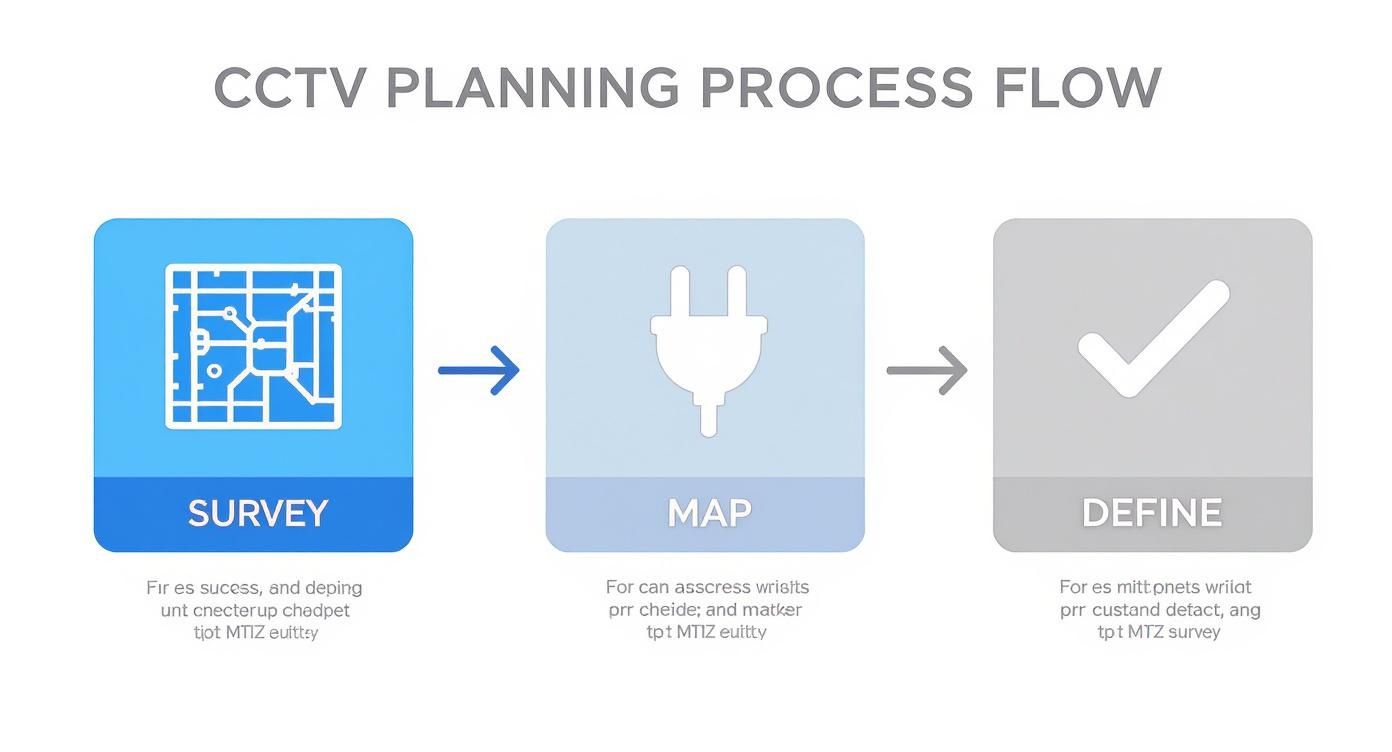
This simple framework—Survey, Map, and Define—is the backbone of every professional CCTV job. It’s how you get from a rough idea to a rock-solid security plan.
Performing a Thorough Site Survey
First things first: you need to walk the property. And I don’t mean a quick stroll. This is a security audit, so you need to look at the site with a critical eye, specifically hunting for blind spots, poorly lit corners, and any potential hiding places.
Put yourself in an intruder’s shoes. Where would you try to get in? Are the fire escapes covered? What about the loading bay or the back car park after dark? These are almost always the weakest links in the chain.
Practical Example: I once audited a warehouse where a low, flat roof over the office section was completely out of sight. It was a perfect, unmonitored entry point. By simply walking the perimeter and looking up, we identified a critical vulnerability that a quick indoor-only walk-through would have missed.
As you walk, document everything. Take photos, sketch a rough floor plan, and make notes on your phone. This isn’t just busywork; this documentation is the raw material for your camera placement diagrams later on.
Focus your attention on these key zones:
- Entry and Exit Points: Every door, window, gate, and loading dock needs to be on your list. Don’t forget staff entrances and emergency exits.
- High-Value Areas: Pinpoint where your most valuable assets live. This could be a server room, a stockroom, or anywhere cash is handled.
- Public and Staff Areas: Think about reception areas, hallways, car parks, and even staff break rooms. The aim is to guarantee safety without making people feel like they’re living in a fishbowl.
Mapping Infrastructure and Defining Objectives
Once you have a feel for the physical layout, it’s time to look at the existing infrastructure. Where are the power points? Where are the network jacks? Knowing this from the start will tell you if a wired Power over Ethernet (PoE) system is feasible or if you need to budget for wireless cameras or new cable runs.
Actionable Insight: A classic rookie error is forgetting about lighting. An area can look perfectly fine at 2 PM but be pitch black at 2 AM. Check your key locations at different times of day and night to see if you’ll need cameras with good infrared (IR) or low-light performance.
With your survey and infrastructure map in hand, you can finally set some clear, measurable goals for the system. Are you trying to deter theft at the till? Monitor staff safety on a factory floor? Or simply gather evidence in case of a slip-and-fall claim?
Here’s a practical example: a retail store in Melbourne would likely prioritise getting crystal-clear facial shots at the entrance and over the payment terminals to fight shoplifting. A construction site in Western Sydney, on the other hand, would care more about wide-angle cameras covering the perimeter to catch after-hours trespassers. Defining these goals is what ensures you buy the right gear for the job.
Before we move on, it’s worth creating a simple checklist to guide your site survey. It helps ensure nothing gets missed when you’re on-site and under pressure.
Site Survey Planning Checklist
Use this checklist to ensure all critical factors are considered during your pre-installation site survey for a commercial CCTV system.
| Planning Step | Key Objective | Example Action |
|---|---|---|
| Vulnerability Assessment | Identify potential security weaknesses | Walk the perimeter and note blind spots, unlit areas, and easy access points like low roofs or unsecured gates. |
| Key Area Identification | Pinpoint critical zones for monitoring | List all entrances/exits, cash handling points, server rooms, and stockrooms. |
| Infrastructure Mapping | Locate existing power and network sources | Mark all available power outlets and data ports on a floor plan to assess cabling needs for PoE. |
| Lighting Conditions | Evaluate visibility at different times | Visit the site during the day and after dark to check for glare, shadows, and areas needing IR cameras. |
| Environmental Factors | Assess indoor/outdoor camera requirements | Note areas exposed to rain, dust, or potential vandalism that require IP-rated or vandal-proof cameras. |
| Objective Definition | Clarify the primary purpose of the system | Determine if the main goal is theft deterrence, staff safety, or liability protection to guide camera selection. |
This structured approach transforms a simple walk-through into a data-gathering exercise that forms the foundation of your entire security plan.
CCTV Installation Planning FAQs
What is the most important first step in planning a CCTV installation?
Without a doubt, it’s the comprehensive site survey. Walking the property to identify vulnerabilities, blind spots, entry points, and high-value areas gives you the fundamental data needed to design a system that actually works.
How do I determine my security objectives?
Start by asking what problems you’re trying to solve. Is it internal theft? Vandalism? Workplace health and safety compliance? Customer disputes? Your answers will tell you exactly what the cameras need to see and where they need to be. For example, if your goal is to reduce “shrinkage” (internal theft), you’ll need cameras covering point-of-sale terminals and stockroom exits, not just the front door.
Do I need a professional to conduct the site survey?
While you can definitely do a basic walk-through yourself, a professional installer from a team like GM GROUP Services brings years of experience in spotting subtle security flaws you might overlook. They can also give you crucial advice on the best camera types, ideal placement, and how to navigate legal compliance in states like NSW, VIC, or QLD.
Picking the Right Cameras and Hardware
Once you’ve walked the site and mapped out what you need to cover, it’s time to get into the nitty-gritty of choosing the hardware. This is where your system’s performance is really decided. It’s not about picking the most expensive brand; it’s about matching the right tech to the job at hand, ensuring every camera you install is perfectly suited to its environment.
The market is flooded with options, and it’s easy to get bogged down in tech specs. Let’s cut through the noise and look at what actually matters, so you don’t end up paying for features you’ll never use or, worse, skimping on something crucial.
Matching Camera Types to Your Environment
Different cameras are built for different purposes. The physical shape of the camera—its form factor—is your first big decision. An indoor camera won’t last a week outside, and a wide-angle camera is useless for zeroing in on a cash register.
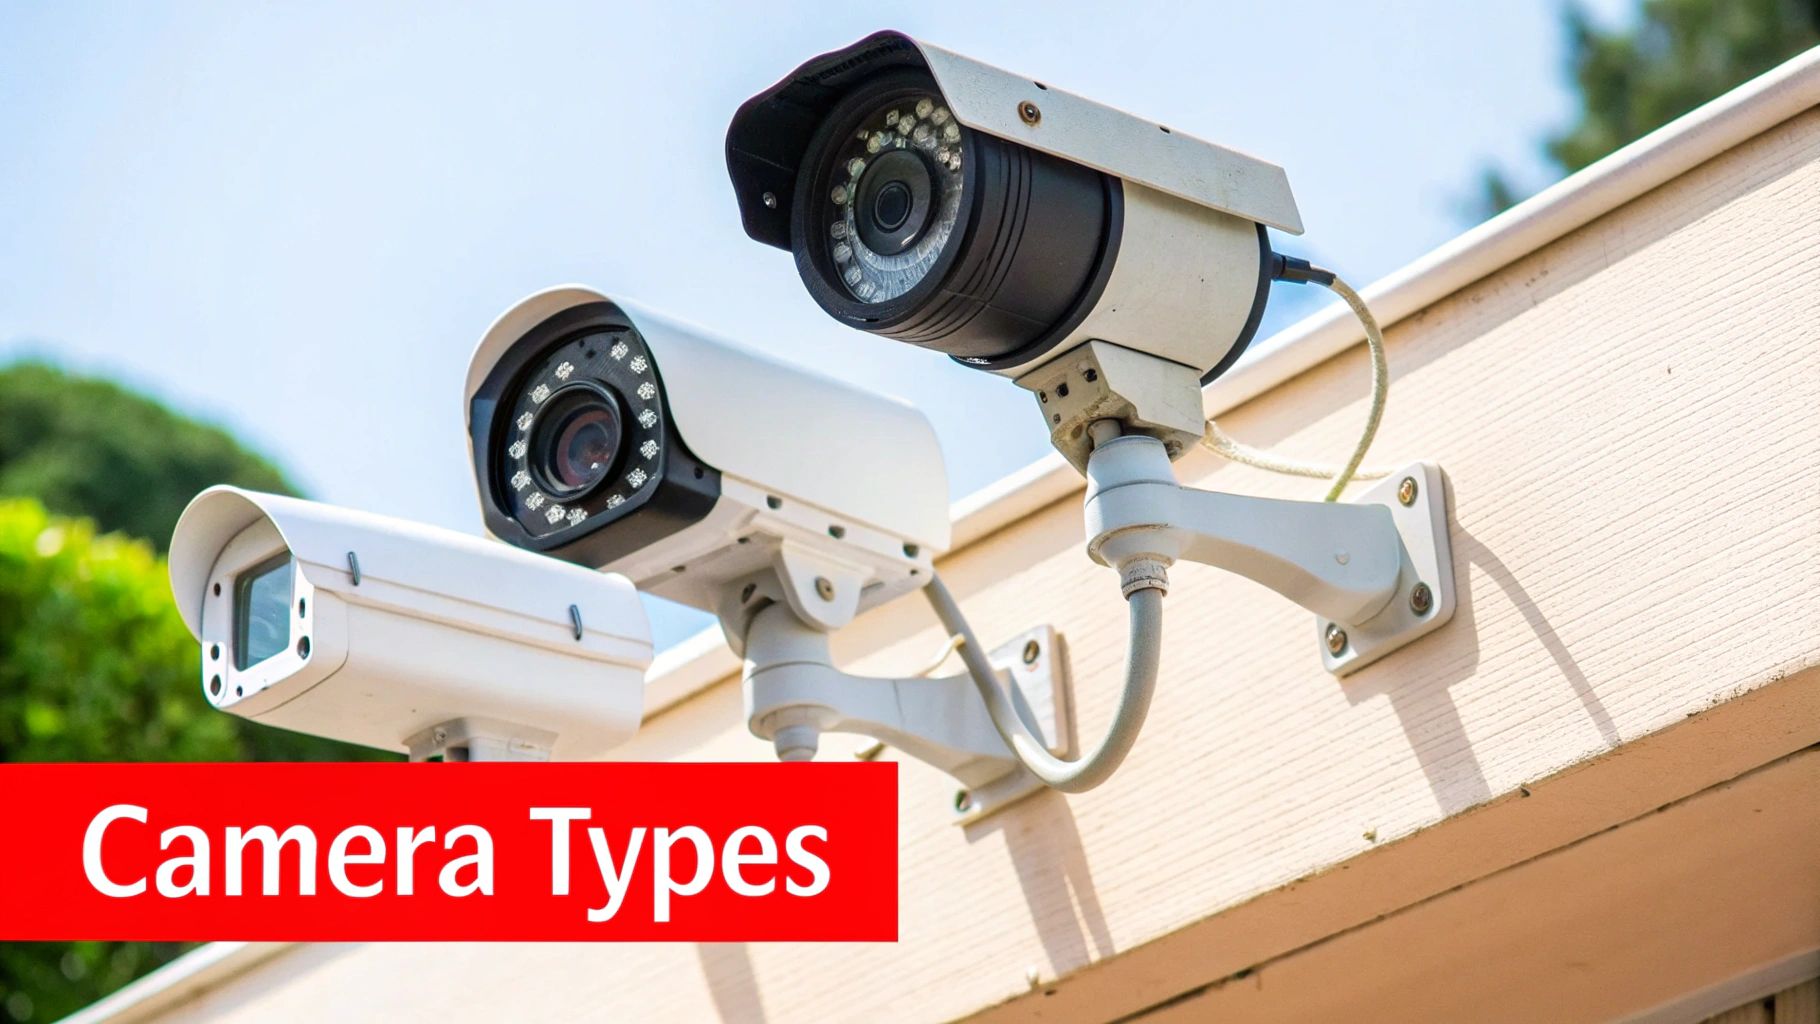
Here’s a practical look at the main players you’ll come across for a commercial CCTV camera installation:
- Dome Cameras: These are your go-to for indoor spaces like retail shops or office foyers. Their discreet, tough housing makes them less of an eyesore, and the tinted dome makes it impossible for someone to know exactly where the lens is pointed. That uncertainty is a great deterrent.
- Bullet Cameras: You can’t miss them. Bullet cameras are obvious and send a clear message: “This area is under surveillance.” They’re perfect for monitoring building perimeters, car parks, and loading zones where you want their presence to be felt.
- Turret Cameras: Often called ‘eyeball’ cameras, these are my personal favourite for their versatility. They pack the aiming flexibility of a bullet camera into a compact dome-like body but without the common issue of IR glare bouncing off the dome at night. A real solid all-rounder.
- PTZ (Pan-Tilt-Zoom) Cameras: Think of these as your active surveillance workhorses. An operator can remotely control them to follow a person, zoom in on a vehicle, or scan a large area. They’re essential for monitoring big, dynamic spaces like festival grounds, construction sites, or public squares where you need eyes on the move.
To make the choice a bit clearer, here’s a quick comparison of how these camera types stack up in the real world.
Commercial Camera Type Comparison
| Camera Type | Best Use Case | Key Advantage | Consideration |
|---|---|---|---|
| Dome | Indoor retail, offices, reception areas | Discreet and vandal-resistant design | Can suffer from IR glare at night if not installed correctly |
| Bullet | Outdoor perimeters, car parks, entry/exit points | Highly visible deterrent, easy to aim | More obvious target for vandalism |
| Turret | General purpose (indoor/outdoor), under eaves | Excellent night vision, flexible installation | Less vandal-resistant than a traditional dome |
| PTZ | Large open areas, active monitoring situations | Operator-controlled pan, tilt, and zoom | Higher cost and requires active monitoring to be effective |
This table should give you a solid starting point for deciding which form factor best fits each location you identified in your site survey.
Decoding Lenses and Resolution
The camera body is just the shell; the real magic happens inside with the lens and sensor. These two components determine exactly what you can see and how clearly you can see it.
A fixed lens gives you one set field of view. It’s simple and reliable, making it perfect for covering a specific spot like a doorway or a fire exit. On the other hand, a varifocal lens is adjustable. During installation, you can tweak the zoom and focus to perfectly frame the scene, giving you far more flexibility.
Resolution, measured in megapixels (MP), is all about detail. While 1080p (2MP) is a decent starting point, moving up to 4K (8MP) provides four times the pixel density. This isn’t just for show; it means you can digitally zoom in on recorded footage and still be able to read a licence plate or identify a face from a distance.
Actionable Insight: If there’s one piece of advice I always give, it’s this: go for the highest resolution your budget can handle. The ability to pull usable evidence from a recording is what separates a professional security system from a box-ticking exercise. After an incident, you’ll never regret having too much detail.
Essential Features for Modern Surveillance
Today’s cameras do more than just record. A few key technologies have become standard for any serious commercial installation, helping to overcome challenging conditions and deliver smarter security.
Low-Light and Night Vision Technology
Security doesn’t clock off at 5 pm.
- Infrared (IR): This is the classic night vision. The camera has built-in IR LEDs that flood the area with light invisible to our eyes, allowing it to see in complete darkness. The trade-off is the image will be in black and white.
- Starlight Technology: This is a big step up. Cameras with “Starlight” or similar low-light tech use incredibly sensitive sensors to produce clear, full-colour images with very little ambient light. It’s fantastic for locations where identifying the colour of a car or a jacket at night is critical.
Wide Dynamic Range (WDR)
Ever tried to get a good picture of someone standing in an open doorway on a sunny day? You either see their silhouette or the background is completely blown out. WDR solves this exact problem by taking multiple exposures at different levels and blending them into one clear, balanced image. It’s a must-have for cameras pointing at glass entrances, loading docks, or any scene with high-contrast lighting.
AI-Powered Analytics
This is where things get really clever. Instead of just dumbly recording motion, modern cameras with AI can tell the difference between people, vehicles, and other objects (like a stray cat). This allows for highly specific alerts, like notifying you only when a person enters a restricted area after hours. It cuts down false alarms from 90% to almost zero, making your system genuinely useful.
The Australian market is quickly adopting these smarter, higher-resolution cameras. The standalone CCTV camera market was valued at around USD 555.51 million and is expected to hit nearly USD 972.54 million. This boom is fuelled by the switch from old analogue systems to modern IP cameras. With 56% of these cameras being installed on council properties and 28% in outdoor shopping centres, the demand for high-performance gear is undeniable. You can dig into more of the Australian CCTV camera market trends to see where the industry is heading.
Hardware Selection FAQs
What is an IP rating and why does it matter for outdoor cameras?
The IP (Ingress Protection) rating tells you how well a camera’s housing is sealed against dust and water. A rating like IP67 means the camera is completely dust-tight and can be submerged in water up to 1 metre deep. For any camera installed outdoors in Australia, you should look for a rating of at least IP66 to ensure it can withstand rain and dust.
Should I choose a camera with a fixed or varifocal lens?
For covering a small, specific area like a single doorway, a fixed lens is simple and cost-effective. For larger areas like a car park or a retail floor where you need to precisely frame the shot to avoid capturing irrelevant space, a varifocal lens is superior. It gives your installer the flexibility to zoom in or out to get the perfect field of view during setup.
Nailing the Network and Power Foundation
You can have the best cameras money can buy, but without a rock-solid network and a reliable power source, they’re just expensive decorations. The cabling and network infrastructure are the unsung heroes of any professional CCTV installation. Get this part right, and your system will hum along for years. Get it wrong, and you’ll be wrestling with constant dropouts, grainy images, and infuriating downtime.
Honestly, this isn’t the place to cut corners. A robust foundation is what ensures every camera performs exactly as it should, day in and day out, without you ever having to think about it.
The Magic of Power Over Ethernet (PoE)
For modern IP camera systems, Power over Ethernet (PoE) has been a complete game-changer. It’s a beautifully simple concept that solves a massive installation headache. Instead of painstakingly running two separate cables to each camera—one for data, one for power—PoE lets you do both over a single, standard network cable (like a Cat6).
This massively simplifies the wiring, cuts down on clutter, and brings labour costs way down. Most modern NVRs and network switches built for surveillance come with PoE ports right out of the box. You just plug the camera into the switch, and it instantly gets both power and a network connection. It’s that easy.
Practical Example: You need to install a camera on a light pole in a car park, maybe 50 metres from your main building. Without PoE, you’d be calling an electrician to run a dedicated power line all the way out to that pole. With PoE, you just run one network cable from your switch. The savings in time, complexity, and cost are huge.
Cabling Done Right for Long-Term Durability
The cable itself is your system’s lifeline, so protecting it is non-negotiable. The environment is the biggest factor here. A cable snaked through an office ceiling has very different needs from one that’s baking in the Queensland sun or braving a cold Victorian winter.
For any professional CCTV camera installation, using the right conduit is an absolute must.
- Indoor Runs: For cables running through wall cavities or ceiling spaces, a flexible PVC conduit is usually fine. It’s enough to protect against snags or accidental damage during other maintenance work.
- Outdoor Runs: Any cable exposed to the elements needs to be housed in a rigid, UV-resistant electrical conduit. This is vital to protect it from sun degradation, moisture, and anyone trying to tamper with it. For underground runs, you must use specifically rated underground conduit to stop water from getting in and prevent it from being crushed.
Actionable Insight: Always run your security camera cables separately from high-voltage electrical wiring. If you run them parallel in the same conduit, you risk getting electromagnetic interference (EMI). On your screen, that looks like static, rolling lines, or general distortion. A clean signal needs a clear path.
Why You Need a Dedicated Security Network
It’s so tempting to just plug your new cameras into your existing office Wi-Fi or business network. I see it all the time, but it’s a critical mistake. High-resolution cameras, especially when you have a bunch of them, generate a constant firehose of data that can quickly choke a network already handling daily business traffic.
The professional standard is to create a separate, dedicated network just for your surveillance system. You can achieve this with a VLAN (Virtual Local Area Network), which cleverly partitions your main network, or by using a completely separate physical switch connected only to your cameras and NVR.
This approach gives you two massive wins:
- Performance: Your crucial security footage won’t get choppy because staff are streaming videos, and your business operations won’t grind to a halt because of the cameras hogging all the bandwidth.
- Security: By isolating your cameras on their own network, you make them invisible to the public internet and far less vulnerable to cyber threats. It effectively creates a secure, closed loop for all your surveillance data.
It’s pretty simple to calculate your bandwidth needs. A single 4K camera typically needs about 15-20 Mbps of upload bandwidth for a smooth, high-quality stream. If you have 10 cameras, you’re already looking at a constant 150-200 Mbps of network capacity needed just for your security system. Trying to pile that on top of your existing office network is just asking for trouble.
Infrastructure FAQs
What is the maximum distance for a PoE cable?
The official standard for PoE over a standard copper Ethernet cable is 100 metres (328 feet). If you need to go further, you’ll have to use a PoE extender or look at switching to a fibre optic cable solution, which can run for kilometres without any issues.
Are wireless cameras a good alternative?
Wireless cameras can be handy in very specific situations where running a cable is truly impossible. However, they are generally far less reliable than their hardwired cousins. They’re prone to Wi-Fi interference, signal dropouts, and still need a separate power source at the camera location, which often defeats the whole “wireless” convenience. For a dependable commercial setup, wired PoE is always the superior choice.
What type of network cable should I use for a CCTV installation?
For any new installation today, Cat6 (Category 6) is the recommended standard. It provides more than enough bandwidth for 4K cameras and has better shielding against interference than the older Cat5e standard. Using Cat6 from the start ensures your infrastructure is ready for whatever camera technology comes next.
Where Will All That Footage Live? Storage & Legal Must-Haves
Recording crystal-clear video is just the start. The real test of a professional system is how you store, manage, and legally handle that footage. Getting this part right determines whether your recordings are actually useful when you need them, and it’s what keeps your business on the right side of the law.
This isn’t just a technical decision; it’s about protecting your assets and your reputation. You’re balancing cost, how easily you can get to your footage, and how secure it all is. Let’s break down your options.
Your Two Main Choices: On-Site NVR vs. The Cloud
For modern IP camera systems, the debate really boils down to two main players: a Network Video Recorder (NVR) or cloud storage. You might still see older Digital Video Recorders (DVRs) around for analogue setups, but for the IP cameras we’re focused on, NVRs are the industry standard.
An NVR is a physical box that lives on your premises. Think of it as a dedicated computer filled with hard drives, connected to your cameras over the network. You buy the hardware once, and that’s it—you have total physical control over your data.
Cloud storage, on the other hand, zaps your footage straight over the internet to a secure data centre run by a specialised provider. The big win here is that you can access your video from anywhere, and it’s automatically backed up off-site. The catch? It comes with a monthly or yearly subscription fee.
Actionable Insight: Honestly, the best setup I see these days is often a hybrid. We’ll install an NVR on-site for continuous, 24/7 recording, so you have everything. Then, we configure it to push critical events—like a person detected in the warehouse after midnight—to a cloud account. This gives you the rock-solid reliability of local storage plus the peace of mind of a secure off-site backup for the important stuff.
Here’s a quick rundown to help you weigh them up for your site:
| Feature | On-Site NVR | Cloud Storage |
|---|---|---|
| Initial Cost | Higher (one-time hardware purchase) | Lower (often minimal upfront cost) |
| Ongoing Cost | Low (just the electricity to run it) | High (monthly/annual subscription fees) |
| Accessibility | Limited to your local network unless you set up remote access | Accessible from any device with an internet connection |
| Security | You’re in charge of keeping it physically and digitally secure | Handled by experts in a secure data centre |
| Data Retention | Limited only by how big your hard drives are | Limited by your subscription plan; long-term storage can get pricey |
| Vulnerability | At risk of being stolen or damaged in a fire or flood | Safe from any disaster that happens on your property |
Staying Compliant: Australian Privacy Laws and Signage
Once you’ve figured out your storage, you absolutely have to tackle the legal side of things. Surveillance laws in Australia can differ between states, but the federal Privacy Act 1988 sets a baseline, and one rule is universal: you have to be upfront about it.
The golden rule is transparency. People must be told they’re being recorded before they step onto the monitored area. The simplest and most effective way to do this is with clear and visible signage.
- In NSW, the Workplace Surveillance Act 2005 is very clear: overt surveillance requires signs at the entrances. Don’t even think about covert surveillance; it’s heavily restricted.
- Down in VIC, the Surveillance Devices Act 1999 states you can’t record a private activity without consent. Properly placed signs are considered implied consent from anyone who enters.
- QLD follows similar principles. Signage is essential for notifying people they’re on camera, especially in any part of your commercial property that’s open to the public.
Stick a sign at every single entrance. It needs to clearly state that CCTV cameras are operating. Skipping this step can land you in serious legal hot water and could even make your footage inadmissible in court.
Making Your CCTV a Team Player: Integration
A CCTV system working on its own is good. A CCTV system that talks to your other security gear? That’s when it becomes a seriously powerful tool. Integrating your cameras creates a layered defence that stops being reactive and starts being proactive.
Practical Example: Linking your cameras to an access control system. Imagine an employee swipes their card at a high-security door. The system can instantly bookmark the video from the camera pointed at that door. Instead of scrubbing through hours of footage, you can jump straight to the exact moment the door was used. It’s a massive time-saver.
Even better is tying it into your alarm system. Say a motion detector in your office is tripped at 2 AM. This can trigger an immediate alert to a back-to-base monitoring service, like the one we run at GM GROUP Services. Our operator can instantly view the live feed from that camera, verify if it’s a real threat, and dispatch a patrol car or dismiss a false alarm. It turns your CCTV from a passive recorder into a genuine first responder.
Storage & Legal FAQs
Where should I physically locate my NVR?
Your NVR holds all your evidence, so protect it. It should be kept in a secure, locked, and well-ventilated location like a server rack, comms room, or a locked office. The last thing you want is for an intruder to steal the recorder along with your assets.
How many days of footage am I legally required to keep?
This varies by industry and state regulations, but a common standard for many commercial premises is 30 days. Some licensed venues or high-security sites may be required to keep footage for 90 days or longer. It’s crucial to check the specific requirements for your business type and location to ensure you are compliant.
Commissioning, Maintenance, and the True Cost of Ownership
Getting the last camera fixed to the wall feels like the finish line, but it’s not. The most critical phase is still to come: bringing the system to life, making sure it runs flawlessly for years, and getting a real handle on the financial commitment.
Skipping these final steps is a classic mistake. It’s like building a house and never checking if the plumbing works—it leaves you completely exposed right when you need that protection the most.
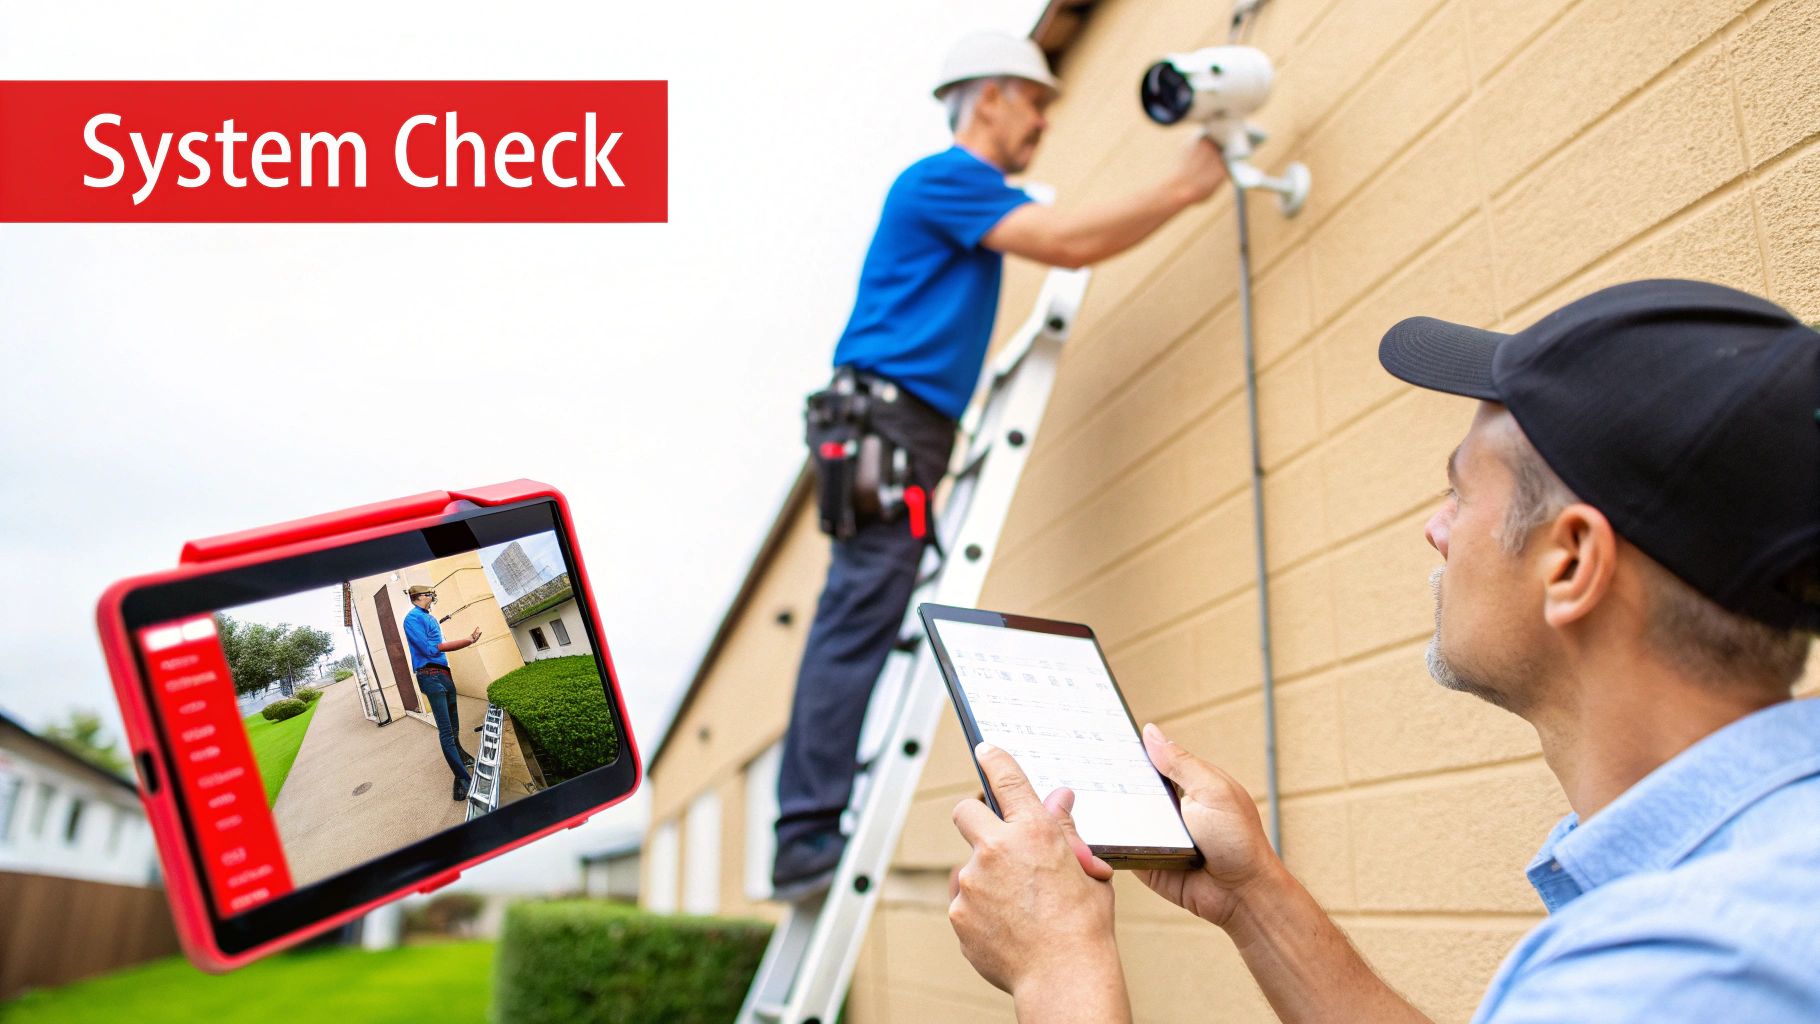
This final stage is all about verification and future-proofing. It’s where we confirm every component works together as a cohesive unit and map out a clear plan for ongoing care and costs.
The System Commissioning Checklist
Commissioning is the formal, methodical process of testing every single part of your new system. Think of it as a deep-dive quality check to ensure what was designed on paper actually works perfectly in the real world. This isn’t just a quick glance at the monitor; it’s a rigorous shakedown of the entire setup.
Any professional installer worth their salt will work through a detailed checklist. Here’s what that looks like in practice:
- Verify Camera Views and Focus: We go to each camera’s live feed to confirm it’s aimed precisely where it needs to be. Is the car park entrance fully covered? Is the focus sharp enough to make out a licence plate? We’ll physically adjust the lens and angle until the view is perfect.
- Test Recording and Playback: A simple but vital step. Trigger a recording for each camera, then immediately try to play it back. This confirms the NVR is configured correctly and that footage is actually being written to the hard drives without errors.
- Configure Motion Detection Zones: Don’t just leave motion detection on for the entire frame—that’s a recipe for endless false alerts. For a camera overlooking a street, for example, we’d draw a specific zone just around your property’s gate. This ensures you’re only alerted to relevant activity, not every passing car.
- Set Up User Permissions: Not everyone needs the keys to the kingdom. We create different user accounts with specific privileges. A site manager might get full access to live feeds and all recordings, while a receptionist may only need to view the front door camera in real time.
- Confirm Remote Access: The final test is logging in from a mobile phone and a computer that are not on the local network. This is your lifeline when you’re off-site, so we make absolutely sure you can view live feeds and access recordings from anywhere.
Proactive Maintenance for Long-Term Reliability
Your CCTV system is an electronic asset. Just like a company vehicle, it needs regular care to perform reliably. A simple, consistent maintenance schedule is the best way to stop small issues from snowballing into major failures.
Actionable Insight: A “set and forget” attitude is one of the biggest mistakes I see. I’ve been to sites where a single spiderweb has completely obscured a critical camera view for months, rendering it totally useless. A quick check would have caught that in seconds. Set a recurring calendar reminder for your maintenance checks—don’t just rely on memory.
A practical maintenance plan doesn’t have to be complicated. Just get these tasks in the calendar:
- Quarterly Checks:
- Clean all camera lenses and housings with a proper microfibre cloth.
- Check for and clear any new obstructions like overgrown trees or recently installed signage.
- Give each camera a gentle wiggle to confirm it’s still securely mounted.
- Bi-Annual Checks:
- Inspect all visible cabling and conduits for any signs of wear, damage, or weather exposure.
- Check the NVR’s ventilation fans and grilles to make sure it isn’t overheating.
- Test your remote access login to ensure credentials and network settings are still correct.
- Annual Checks:
- Perform firmware updates for both the cameras and the NVR to patch security vulnerabilities.
- Verify the system’s time and date are accurate—this is crucial for evidence.
- Review footage retention settings to ensure you are still meeting your legal or operational requirements.
Understanding the True Cost of Ownership
The initial invoice for hardware and installation is just the beginning of the story. To budget properly, you need to look at the total cost of ownership over the entire lifespan of the system.
The upfront cost is obviously the most visible part. CCTV installation costs vary quite a bit across Australian states, driven by the number and type of cameras, wiring complexity, and any advanced features. In a high-demand area like New South Wales (NSW), a basic setup can run from AUD 900 to AUD 2,800, while larger commercial installations can easily top AUD 10,000. You can find more detailed insights on security camera installation costs in Australia on protectfind.com.au.
Beyond that initial outlay, you have to account for the recurring expenses that keep the system running year after year.
Ongoing CCTV System Costs
| Cost Category | Description | Example Scenario |
|---|---|---|
| Cloud Storage | Monthly or annual subscription fees for storing your video footage off-site. | A small retail shop might pay $20 per camera per month for 30 days of cloud-based event recording. |
| Monitoring Services | Fees paid to a professional security company to monitor alerts and respond to incidents. | Back-to-base monitoring for a construction site could range from $50 to $150 per month, depending on the level of response you need. |
| Maintenance & Repairs | Your budget for replacing things that wear out, like hard drives or damaged cameras, or for professional servicing. | It’s wise to set aside 10-15% of the initial system cost annually for potential maintenance needs. |
| System Upgrades | The cost of replacing outdated cameras or recorders every 5-7 years to keep up with technology. | Upgrading from 1080p to 4K cameras will involve new hardware and some labour costs. |
By factoring in these ongoing costs from the start, you get a much more transparent financial picture. It ensures your security investment remains effective, reliable, and affordable for the long haul.
Got Questions About CCTV? We’ve Got Answers
When you’re looking into a commercial CCTV system, a lot of questions pop up. It’s a significant investment, so getting straight, honest answers is crucial for making the right call. Here are some of the things business owners and property managers ask us all the time.
How Long Will a CCTV System Actually Last?
You can realistically expect a professionally installed, high-quality CCTV system to serve you well for 5 to 7 years. The cameras themselves and the network gear are built tough. The first thing to usually show its age is the hard drive inside your NVR.
Think about it – that drive is spinning and writing data 24/7. Most surveillance-grade hard drives are rated for about three years of that constant workload. My advice? Don’t wait for it to fail. We always recommend our clients proactively swap out the hard drives around the three-year mark. It’s a small cost to avoid the massive headache of losing crucial footage when you need it most. Keeping the system’s firmware updated also helps keep it secure and running smoothly for longer.
Can I Check My Cameras When I’m Not On-Site?
You bet. Any modern IP camera system is built for remote access. As long as your recorder (the NVR) is hooked up to the internet, you can pull up a live feed or review past recordings from anywhere. All you need is the app on your phone or tablet, or you can just log in through a web browser.
When we commission a system, getting this set up for you is part of the job. We’ll make sure the connection is secure and hand over your login details. For business owners, this is a game-changer – you can check in on the premises after closing time or even when you’re on holiday.
Actionable Insight: If your system’s app offers two-factor authentication (2FA), turn it on. It sends a code to your phone when you log in, adding a powerful layer of security. It makes it incredibly difficult for anyone else to get access to your cameras, even if they somehow get your password.
How Much Footage Can I Actually Store?
That’s the million-dollar question, and the answer is “it depends.” It really boils down to three things:
- Hard Drive Space: How many drives are in your NVR, and how big are they? We commonly use 4TB or 8TB drives, but they go much higher.
- Cameras and Quality: How many cameras are you running? A 4K camera chews through way more data than an older 1080p one.
- Recording Method: Are you recording everything 24/7, or are you just recording clips when the camera detects motion? Motion-based recording saves a huge amount of space.
To give you a ballpark figure, a small retail shop with four 4K cameras set to record on motion might get several weeks, or even a couple of months, out of a single 4TB drive. Part of our job during the planning phase is to do the maths for you. We’ll figure out exactly what you need to meet your target, whether you’re required to hold onto footage for 30, 60, or 90 days.
Do I Really Need Professional Monitoring?
It’s not essential for everyone, but this is what turns your camera system from a passive recording device into a genuine, active security shield.
Without it, you’re the one who has to sift through footage after something has already happened. With back-to-base monitoring, a trained operator gets an instant alert—maybe from an AI analytic that spotted someone trespassing—and can immediately view the live feed. If they see a real threat, they can dispatch a security patrol or the police right away. For high-risk places like construction sites, big event venues, or any commercial property left empty overnight, that immediate response is absolutely invaluable.
A well-planned CCTV camera installation is one of the smartest investments you can make in your business’s safety and security. For expert advice and professional installation services across NSW, VIC, QLD, and the ACT, trust the team at GM GROUP Services.
Secure Your Property with a Professional CCTV Consultation Today
Discover more from GM Group Services
Subscribe to get the latest posts sent to your email.